Peach Cobbler Cheesecake Bars
Peach Cobbler Cheesecake Bars
Introduction
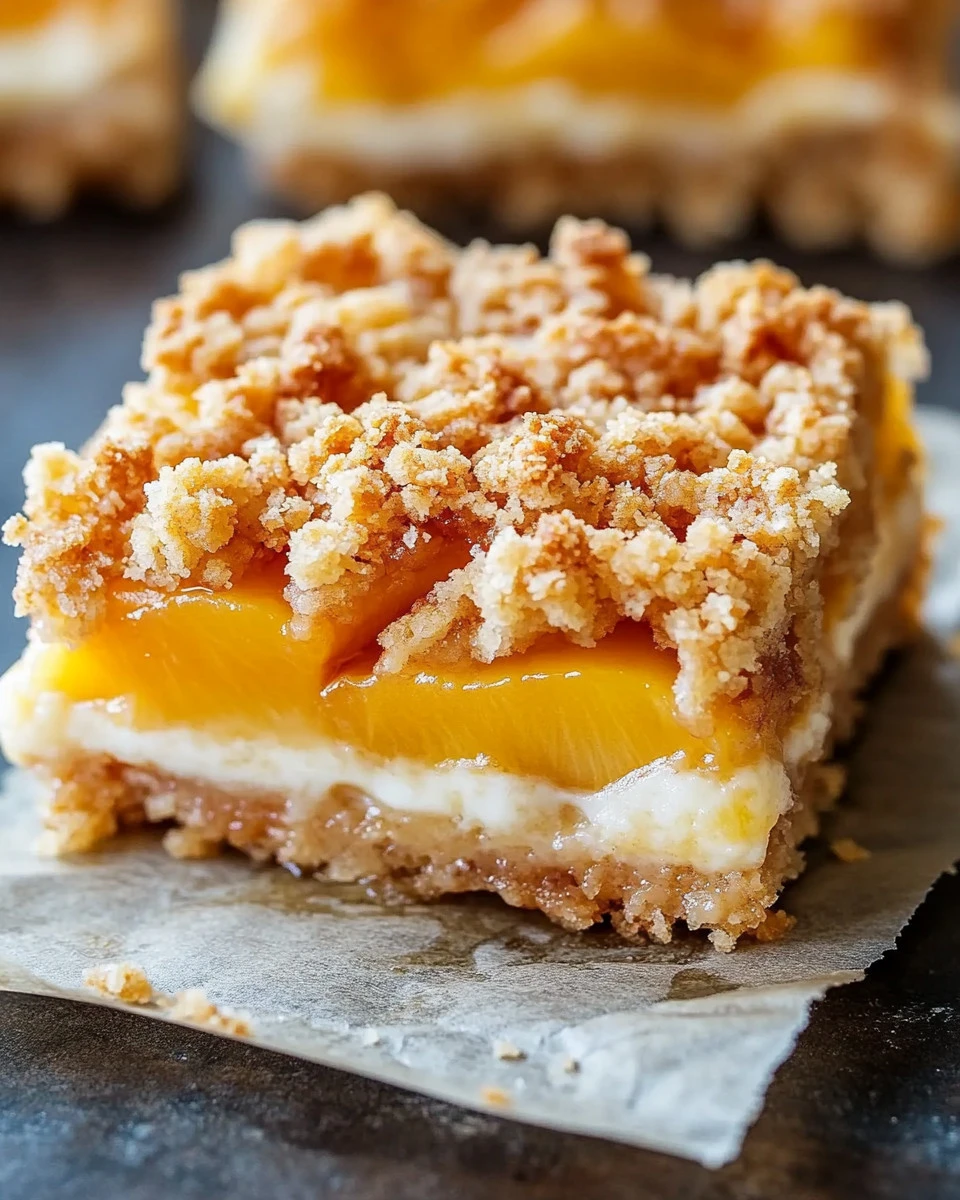
Peach Cobbler Cheesecake Bars are a delightful dessert that blends the rich, creamy taste of cheesecake with the sweet, fruity goodness of peach cobbler. This easy-to-make treat is perfect for summer gatherings or any gathering where you want to impress your friends and family with a delicious dessert.
Why Make This Recipe
You should definitely try making Peach Cobbler Cheesecake Bars for several reasons. Firstly, they are a crowd-pleaser and will satisfy your sweet tooth with their creamy texture and fruity flavor. Secondly, this recipe combines two classic desserts, giving you the best of both worlds in one bite. Lastly, they are simple enough for beginners to make, yet delicious enough to impress seasoned bakers!
How to Make Peach Cobbler Cheesecake Bars
Making these bars is straightforward, and the process is broken down into a few easy steps. Let’s take a look!
Ingredients:
- 1 1/2 cups graham cracker crumbs
- 1/2 cup unsalted butter, melted
- 1/4 cup granulated sugar
- 16 oz cream cheese, softened
- 1 cup granulated sugar
- 2 large eggs
- 1 teaspoon vanilla extract
- 1/2 teaspoon almond extract
- 1 cup fresh or canned peaches, diced (drained if using canned)
- 1 cup peach pie filling
- 1 teaspoon cinnamon
- 1 tablespoon brown sugar (optional)
Directions:
-
Preheat the Oven: Preheat your oven to 325°F (163°C). Grease a 9×13-inch baking dish or line it with parchment paper for easy removal.
-
Make the Crust: In a medium bowl, combine the graham cracker crumbs, melted butter, and granulated sugar. Mix until well combined. Press the mixture firmly into the bottom of the prepared baking dish to form an even layer.
-
Prepare the Cheesecake Filling: In a large mixing bowl, beat the softened cream cheese and granulated sugar together until smooth and creamy. Add the eggs, one at a time, mixing well after each addition. Stir in the vanilla and almond extracts. Gently fold in the diced peaches.
-
Assemble the Bars: Pour the cheesecake filling over the prepared crust, spreading it evenly.
-
Add the Topping: Spoon the peach pie filling over the cheesecake layer, spreading it out evenly. If desired, sprinkle the cinnamon and brown sugar on top for added flavor.
-
Bake the Bars: Bake in the preheated oven for 40-45 minutes, or until the cheesecake is set and the edges are lightly golden.
-
Cool and Serve: Allow the bars to cool completely in the baking dish. Once cooled, refrigerate for at least 2 hours before slicing into squares. Serve chilled and enjoy this delightful dessert!
How to Serve Peach Cobbler Cheesecake Bars
Peach Cobbler Cheesecake Bars are best served chilled. You can cut them into squares and serve them on a plate. They also pair wonderfully with a scoop of vanilla ice cream or a dollop of whipped cream for extra creaminess.
How to Store Peach Cobbler Cheesecake Bars
To store any leftovers, make sure they are kept in an airtight container in the refrigerator. They will stay fresh for about 3 to 5 days. If you want to keep them longer, consider freezing them in individual squares for up to a month.
Tips to Make Peach Cobbler Cheesecake Bars
- Make sure your cream cheese is softened for easy blending.
- If using canned peaches, make sure to drain them well to avoid excess moisture.
- Feel free to adjust the sugar depending on your sweetness preference.
Variation
You can also try using different fruits like blueberries or cherries if you want to change up the flavor. A sprinkle of nuts can also add a nice crunch to the topping!
FAQs
1. Can I use a different type of crust?
Yes! You can use any type of cookie crumbs, such as Oreo or Nilla Wafer crumbs.
2. Can I use frozen peaches?
Absolutely! Just thaw and drain them well before using.
3. How do I prevent my cheesecake from cracking?
Bake it at a lower temperature and avoid opening the oven door while baking. Let it cool slowly in the oven with the door slightly ajar to help prevent cracking.