Deliciously Zesty Glazed Lemon Loaf
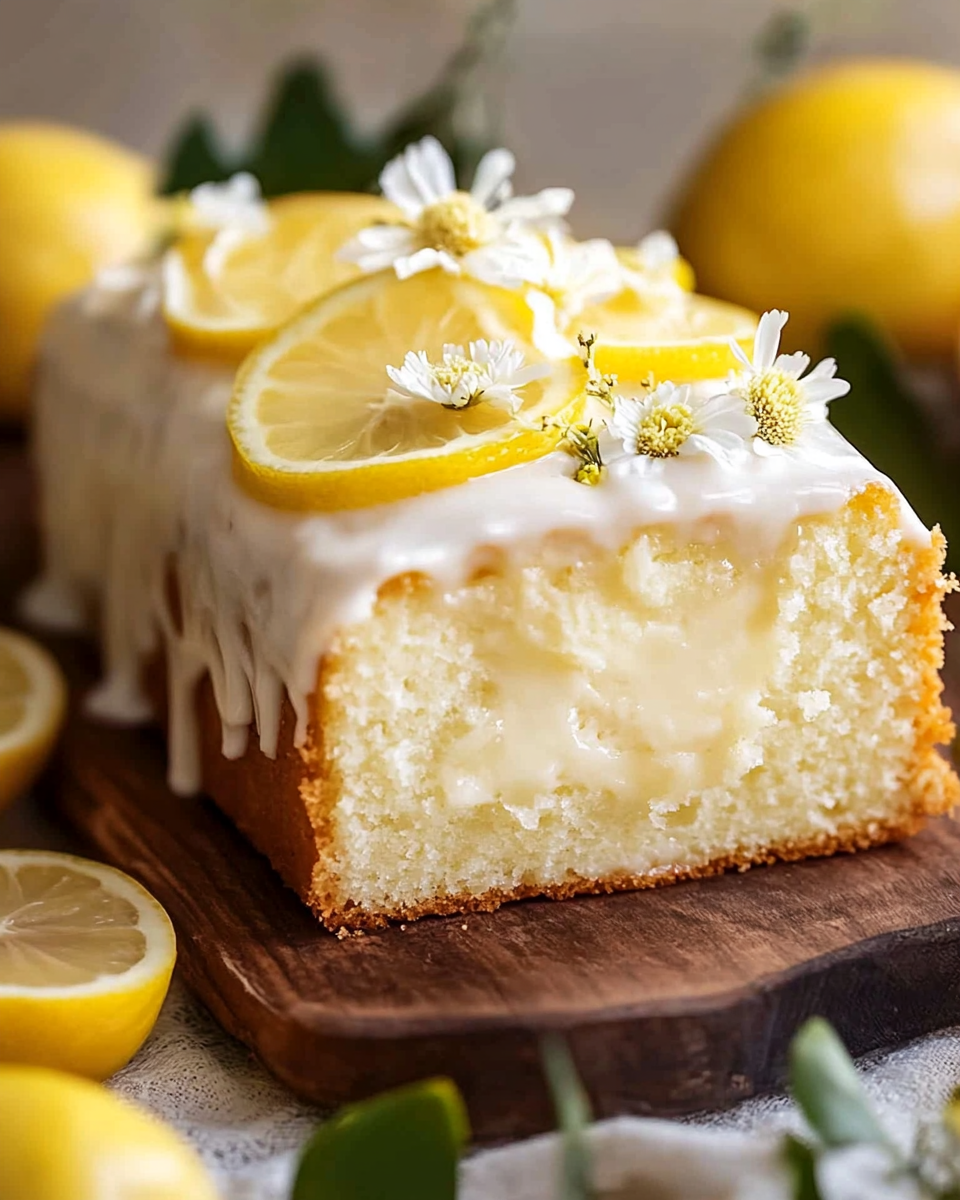
Glazed Lemon Loaf
Introduction
Glazed lemon loaf is a delightful quick bread that brings a burst of fresh citrus flavor to your table. Whether enjoyed for breakfast, a snack, or dessert, this loaf is soft, moist, and topped with a sweet, tangy glaze. Its sunny flavor makes it a perfect treat for any occasion!
Why Make This Recipe
Making a glazed lemon loaf is an easy way to elevate your baking skills. The recipe requires simple ingredients that you probably already have in your pantry. Plus, the combination of yogurt and lemon creates a tender crumb while the glaze adds an irresistible sweetness. It’s perfect for quick family gatherings, brunch, or simply as a sweet treat to enjoy with a cup of tea or coffee.
How to Make Glazed Lemon Loaf
Making your own glazed lemon loaf at home is straightforward. Just follow the step-by-step instructions below for a delicious result.
Ingredients:
- 2 cups plain flour / all-purpose flour (Note 1 for GF)
- 4 tsp baking powder
- 1/8 tsp salt
- 1 cup plain yogurt (at room temperature)
- 2 large eggs (~55g/2oz each, at room temperature)
- 75g / 5 tbsp unsalted butter (melted and cooled)
- 1/4 cup vegetable or canola oil (or other neutral flavored oil)
- 2 tbsp lemon zest (~2 large lemons)
- 1/4 cup lemon juice
- 1 1/4 cups caster sugar / superfine sugar (sub normal/granulated sugar)
- 1/2 tsp vanilla extract
- 1 1/2 tsp lemon extract (sub 1 tbsp extra zest, Note 3)
- 1 cup soft icing sugar/powdered sugar (sifted)
- 3 – 3 1/2 tsp+ lemon juice
Directions:
- Preheat your oven to 180°C/350°F (160°C fan-forced). Grease and line a loaf pan (21 x 11 x 7 cm / 8.5 x 4.5 x 2.75 inches) with baking or parchment paper.
- In a large bowl, whisk together all the dry ingredients. In another bowl, mix the wet ingredients. Pour the wet ingredients into the dry ingredients and whisk until lump-free. Transfer the batter to the prepared loaf pan and smooth the surface.
- Bake the loaf for 45 minutes uncovered. After that, loosely cover with foil and bake for another 20 minutes, or until a skewer inserted into the center comes out clean.
- Let the loaf stand in the pan for 10 minutes before turning it out onto a cooling rack. Allow it to cool completely (about 3 hours) before glazing it. Use a spoon to spread the glaze on top and let it drip down the sides. Finally, cut thick slices and serve.
- For the glaze: Whisk the ingredients until combined and smooth. It should be thick but not transparent. Start with 3 1/2 teaspoons of lemon juice and add more as needed.
How to Serve Glazed Lemon Loaf
Serve your glazed lemon loaf sliced, either plain or with a cup of hot tea or coffee. It is also lovely with a sprinkle of extra grated lemon zest on top to enhance the citrus flavor!
How to Store Glazed Lemon Loaf
Keep the glazed lemon loaf in an airtight container at room temperature for up to 3 days. For longer freshness, you can freeze it for up to a month. Just remember to slice it before freezing for easy serving!
Tips to Make Glazed Lemon Loaf
- Ensure all your ingredients are at room temperature for the best results.
- Be careful not to overmix your batter, as this can lead to a dense loaf.
- Adjust the amount of lemon juice in the glaze to reach your desired thickness.
Variation
You can easily add poppy seeds or even blueberries for a different flavor twist. Alternatively, you can replace some lemon juice in the glaze with orange juice for a delicious citrus mix!
FAQs
- Can I use gluten-free flour?
Yes, you can substitute all-purpose flour with a gluten-free flour blend. Refer to the package for measurements and tips. - How can I make the loaf less sweet?
You can reduce the sugar in both the loaf and glaze to your taste. Consider adding more lemon juice for tartness! - Can I make this loaf ahead of time?
Absolutely! The loaf can be baked a day ahead. Just glaze it right before serving for the best presentation and flavor.
Enjoy your delicious glazed lemon loaf!