No-Bowl Chocolate Nut Bars
No-bowl Chocolate Nut Bars
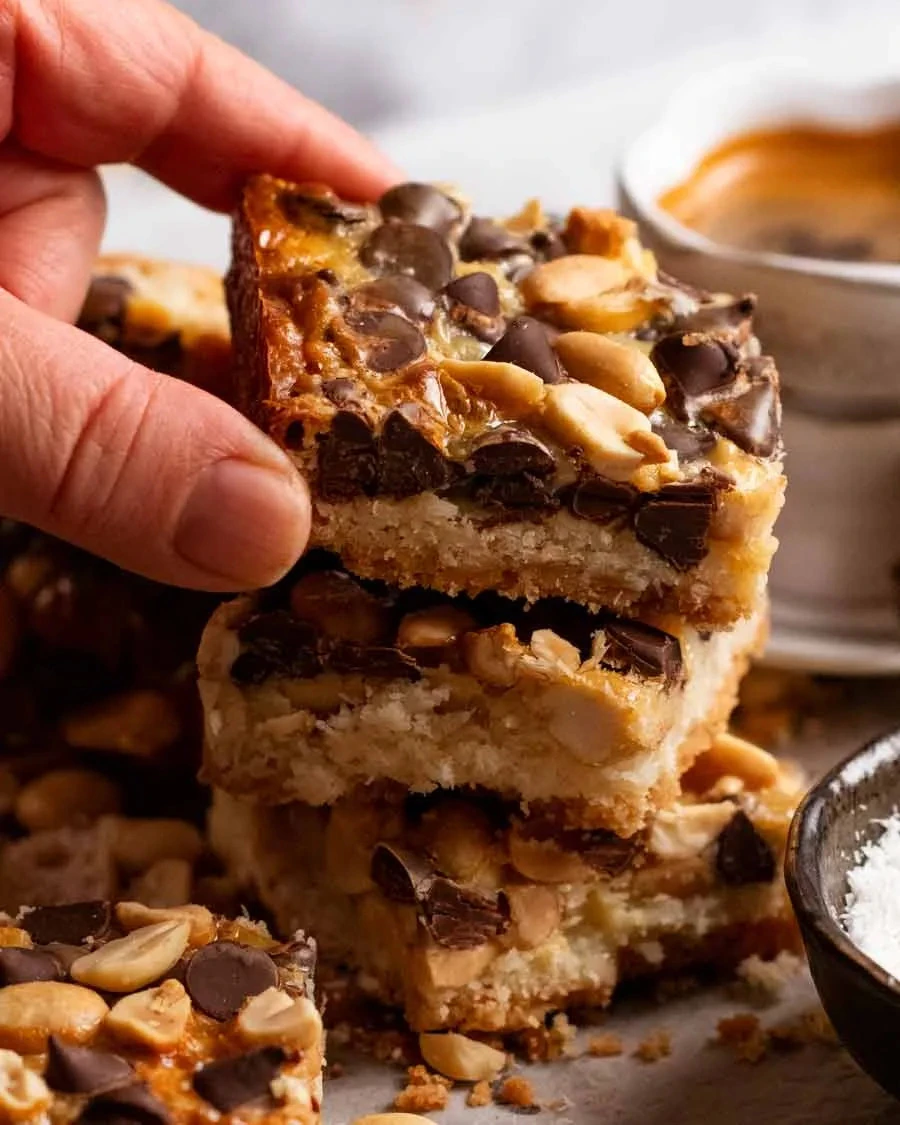
No-bowl Chocolate Nut Bars are a delicious and easy treat that everyone will love. These bars are rich in chocolate, crunchy peanuts, and sweet coconut, making them perfect for snacks or dessert. The best part? You don’t need to use a bowl for mixing! You can prepare these mouthwatering bars with just a single pan.
Why Make This Recipe
This recipe is a great choice for many reasons. First, it requires minimal effort and cleanup since you’ll be using just one pan. Also, it’s quick to make, taking just about an hour, including baking time. The combination of chocolate and nuts provides a fantastic flavor and texture, making them a hit for kids and adults alike. Perfectly sweet and chewy, these chocolate nut bars are perfect for lunchboxes, gatherings, or whenever you want a delightful treat!
How to Make No-bowl Chocolate Nut Bars
Making No-bowl Chocolate Nut Bars is super simple. Follow these steps, and you’ll have your delicious snacks ready in no time!
Ingredients:
- 100g (7 tbsp) unsalted butter (cut into a few chunks)
- 1 cup (100g) plain biscuits, crushed (e.g., Marie, Arrowroot, digestives, Graham crackers)
- 1 cup desiccated coconut (unsweetened)
- 1 cup unsalted peanuts (or other nuts of choice)
- 1 cup dark choc chips (semi-sweet chips)
- 395g (14 oz) (1 can) sweetened condensed milk
Directions:
- Preheat the oven: Preheat the oven to 180°C/350°F (160°C fan-forced).
- Line pan: Lightly spray a 20cm/8" square pan with oil, then press in a sheet of baking paper. Don’t worry about being too precise!
- Melt butter: Place the butter in the pan and melt it in the oven for about 5 minutes.
- Biscuit base: Swirl the pan to spread the melted butter. Sprinkle the crushed biscuits evenly over the butter and gently press down.
- Layer: Scatter the coconut evenly on top, followed by about two-thirds of the peanuts and choc chips (save some for decoration). Pour the sweetened condensed milk over everything and spread it for even coverage. Top with the remaining nuts and chocolate chips.
- Bake: Bake for around 30 minutes, or until the edges are golden brown.
- Cool and cut: Allow the mixture to cool completely for about 3 hours or for 1 hour at room temperature and then 1 hour in the fridge. Use the baking paper to lift the bars out, then cut into squares and enjoy!
How to Serve No-bowl Chocolate Nut Bars
These bars are delightful on their own but can also be served with a scoop of ice cream or a drizzle of chocolate sauce. They make a great addition to a dessert platter or can pair nicely with a cup of coffee or tea.
How to Store No-bowl Chocolate Nut Bars
Store the chocolate nut bars in an airtight container at room temperature for up to a week. You can also keep them in the fridge for longer freshness if you prefer a chilled treat!
Tips to Make No-bowl Chocolate Nut Bars
- Use any kind of nuts or nuts mix based on your preference for a different flavor.
- If you want a bit of chewiness, add some dried fruits like cranberries or raisins.
- For extra flavor, consider using flavored biscuits, like ginger or chocolate cookies.
Variation
Feel free to swap the dark chocolate for milk chocolate if you prefer a sweeter taste. You can also experiment with different types of nut butter, like almond or cashew butter, to change the flavor.
FAQs
Q: Can I make these bars gluten-free?
A: Yes! Just use gluten-free biscuits instead of regular ones.
Q: What can I replace the sweetened condensed milk with?
A: You can try using coconut milk mixed with a sweetener, but the texture and taste may change slightly.
Q: Can I freeze these bars?
A: Absolutely! Wrap them tightly in plastic wrap or foil and store in the freezer for up to three months. Thaw them before serving for the best taste.
Now you’re all set to make No-bowl Chocolate Nut Bars, a delightful treat that everyone will enjoy!