Cheddar-Stuffed BBQ Bacon Bombs
Cheddar-Stuffed BBQ Bacon Bombs
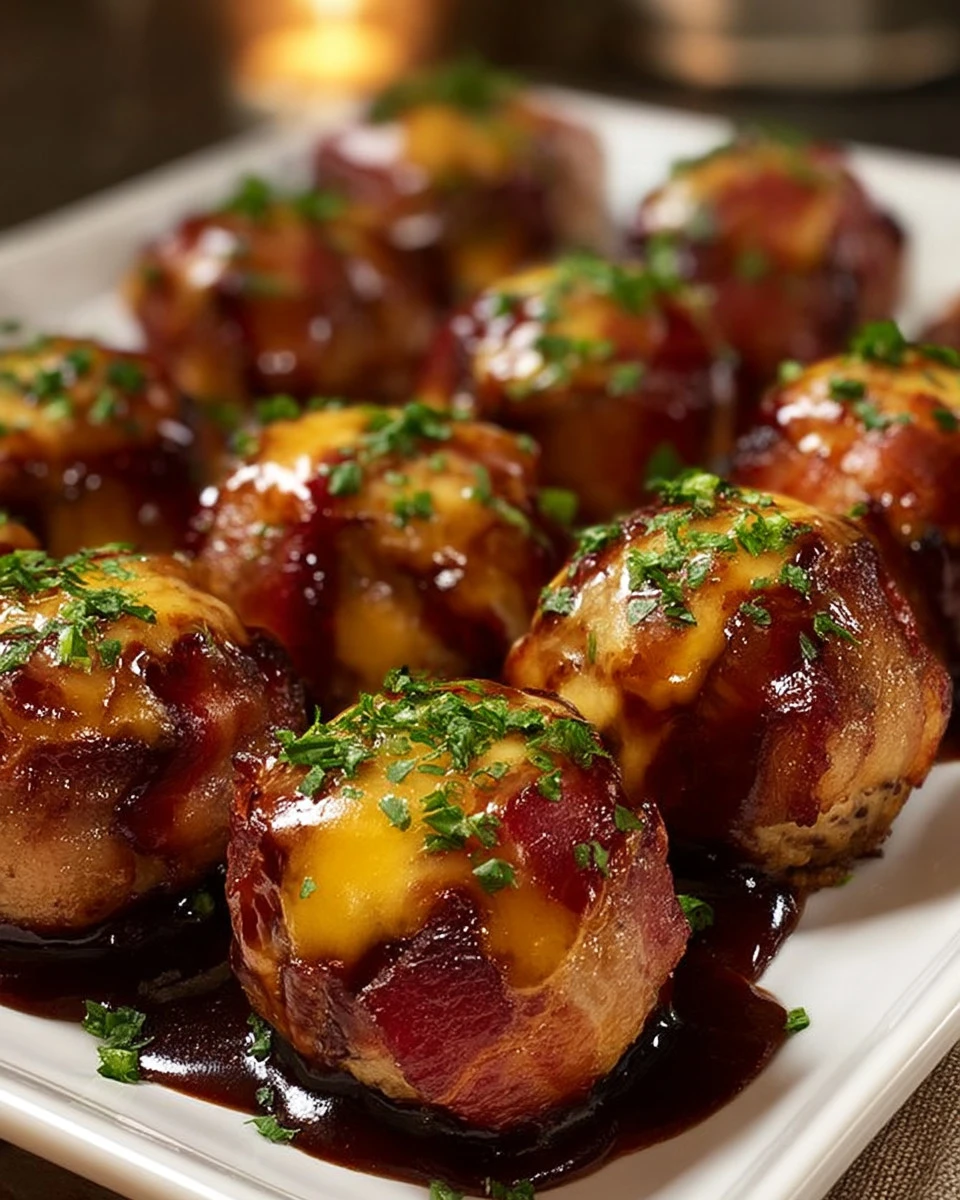
Are you in the mood for a delicious and satisfying snack that combines two of your favorites: cheese and bacon? Look no further! Cheddar-Stuffed BBQ Bacon Bombs are a perfect choice. They are delightful meaty balls filled with gooey cheddar and wrapped in crispy bacon, all glazed with a sweet BBQ sauce. This dish is perfect for game days, parties, or even a fun family dinner.
Why Make This Recipe
These Cheddar-Stuffed BBQ Bacon Bombs are not only easy to make, but they are also a crowd-pleaser. The combination of flavors and textures makes these bites irresistible. The melty cheddar cheese contrasts beautifully with the crispy bacon outside, while the seasoned beef provides a hearty base. Plus, they are customizable – you can use your favorite BBQ sauce and even try different cheeses! Whether you are hosting a barbecue or just craving a tasty treat, these bacon bombs are sure to impress.
How to Make Cheddar-Stuffed BBQ Bacon Bombs
Making Cheddar-Stuffed BBQ Bacon Bombs is simple and fun. Just follow these steps, and you will have a delicious dish that everyone will enjoy.
Ingredients :
- 1 lb ground beef
- 1/2 cup breadcrumbs
- 1 egg
- 1 tablespoon Worcestershire sauce
- 1 teaspoon garlic powder
- 1 teaspoon onion powder
- 1/2 teaspoon smoked paprika
- Salt and pepper to taste
- 4 oz cheddar cheese, cut into cubes
- 10 slices bacon
- 1/2 cup BBQ sauce
Directions :
- Preheat your oven to 400°F (200°C) and line a baking tray with parchment paper.
- In a mixing bowl, combine the ground beef, breadcrumbs, egg, Worcestershire sauce, garlic powder, onion powder, smoked paprika, salt, and pepper. Mix everything until it is well combined.
- Take about 2 tablespoons of the meat mixture and flatten it in your hand. Place a cube of cheddar cheese in the center and form the meat around it into a ball.
- Wrap each meatball with a slice of bacon. If needed, secure it with a toothpick to keep everything together.
- Place the wrapped bacon bombs on the prepared baking tray and bake for 25–30 minutes or until the bacon is crispy and the meat is cooked through.
- Brush each bacon bomb generously with BBQ sauce and return to the oven for another 5 minutes to let the sauce caramelize.
- Let the bombs rest for a few minutes before serving. You can serve them with extra BBQ sauce for dipping.
How to Serve Cheddar-Stuffed BBQ Bacon Bombs
Cheddar-Stuffed BBQ Bacon Bombs are great for sharing. Serve them warm on a platter, and offer a side of BBQ sauce for dipping. They can be the star of your appetizer spread or served as a main dish with sides like coleslaw or potato salad.
How to Store Cheddar-Stuffed BBQ Bacon Bombs
If you happen to have leftovers, you can store them in an airtight container in the refrigerator. They will keep well for up to 3 days. To reheat, simply place them in the oven for a few minutes to get the bacon crispy again.
Tips to Make Cheddar-Stuffed BBQ Bacon Bombs
- Make sure to fully seal the cheese inside the meat to prevent it from leaking out during cooking.
- Use a good quality bacon for the best flavor and texture.
- Experiment with different cheeses or spices to create your own unique version.
Variation
Feel free to try different fillings by using different types of cheese, such as pepper jack for a spicy kick or mozzarella for a milder flavor. You can also add chopped jalapeños or herbs to the meat mixture to enhance the taste further.
FAQs
1. Can I freeze Cheddar-Stuffed BBQ Bacon Bombs?
Yes! You can freeze them before or after baking. To freeze before baking, make the bacon bombs and place them on a baking tray in the freezer until firm, then transfer to a zip-lock bag.
2. How long do these bacon bombs take to cook?
They typically take about 30 minutes to cook through and an additional 5 minutes to caramelize the BBQ sauce.
3. Can I use turkey or chicken instead of beef?
Absolutely! Ground turkey or chicken can be used as a lighter alternative, and the recipe will still taste fantastic.
Enjoy making and devouring these Cheddar-Stuffed BBQ Bacon Bombs with your friends and family!

Cheddar-Stuffed BBQ Bacon Bombs
Ingredients
Main Ingredients
- 1 lb ground beef
- 1/2 cup breadcrumbs
- 1 large egg
- 1 tablespoon Worcestershire sauce
- 1 teaspoon garlic powder
- 1 teaspoon onion powder
- 1/2 teaspoon smoked paprika
- Salt and pepper to taste
- 4 oz cheddar cheese, cut into cubes
- 10 slices bacon Use good quality for best flavor
- 1/2 cup BBQ sauce For glazing and serving
Instructions
Preparation
- Preheat your oven to 400°F (200°C) and line a baking tray with parchment paper.
- In a mixing bowl, combine the ground beef, breadcrumbs, egg, Worcestershire sauce, garlic powder, onion powder, smoked paprika, salt, and pepper. Mix everything until well combined.
- Take about 2 tablespoons of the meat mixture and flatten it in your hand. Place a cube of cheddar cheese in the center and form the meat around it into a ball.
- Wrap each meatball with a slice of bacon. If needed, secure it with a toothpick.
Cooking
- Place the wrapped bacon bombs on the prepared baking tray and bake for 25–30 minutes or until the bacon is crispy and the meat is cooked through.
- Brush each bacon bomb generously with BBQ sauce and return to the oven for another 5 minutes to let the sauce caramelize.
- Let the bombs rest for a few minutes before serving.