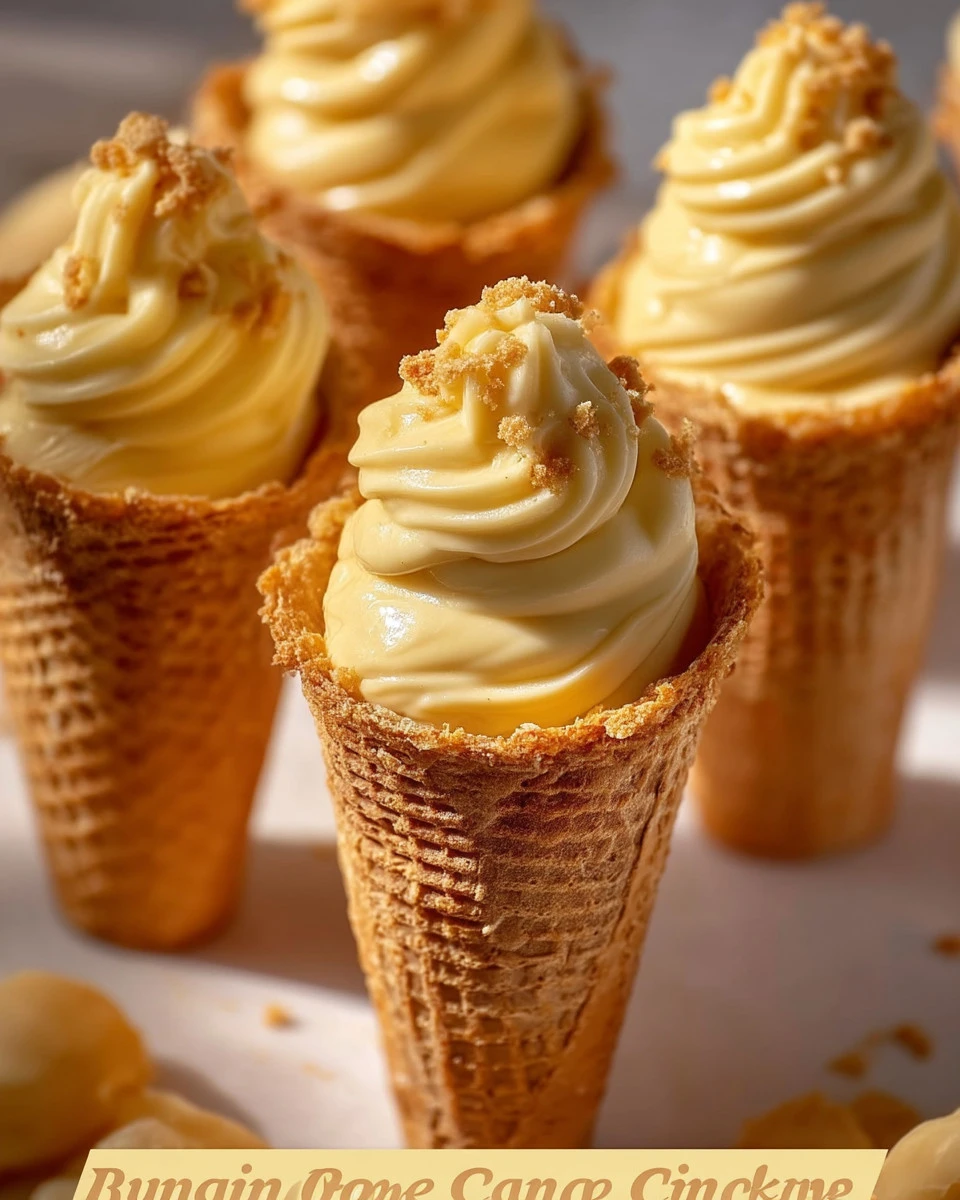
Banana Pudding Cheesecake Cones Recipe
Banana Pudding Cheesecake Cones Recipe
Banana Pudding Cheesecake Cones are a delightful twist on classic desserts. These portable treats combine the creamy goodness of cheesecake, the sweet flavor of bananas, and the crunchy texture of waffle cones. They’re not just easy to make but also perfect for parties, picnics, or family gatherings. Everyone will love the unique presentation and delicious flavors!
Why Make This Recipe
The Banana Pudding Cheesecake Cones are a fun and creative way to serve dessert. They are individual servings, which makes them easy to share or take on the go. The combination of flavors—smooth cheesecake, fruity bananas, and crunchy waffle cones—creates a satisfying dessert experience. Moreover, they can be made ahead of time and stored in the fridge, making them a convenient option for busy days or last-minute gatherings.
How to Make Banana Pudding Cheesecake Cones
Making Banana Pudding Cheesecake Cones is simple. Follow these easy steps to create a delicious dessert that everyone will enjoy.
Ingredients:
- 2 (8 oz) packages cream cheese, softened
- 1/2 cup powdered sugar
- 1/2 cup sour cream
- 1/4 cup heavy cream
- 1 tsp vanilla extract
- 1/2 cup banana pudding mix (instant)
- 1/2 cup milk
- 2 ripe bananas, mashed
- 6 to 8 waffle cones (store-bought)
- 1/2 cup crushed vanilla wafer cookies
- Whipped cream (optional, for topping)
Directions:
Step 1: Prepare the Cheesecake Filling. In a large mixing bowl, beat the softened cream cheese with powdered sugar until it becomes smooth and creamy. Next, add the sour cream, heavy cream, and vanilla extract. Continue to beat until everything is fully combined. In another bowl, whisk the banana pudding mix and milk together until smooth. Add this mix to the cream cheese mixture and mix well. Gently fold in the mashed bananas. Chill the filling in the refrigerator for at least 30 minutes to firm up slightly before assembling.
Step 2: Assemble the Cheesecake Cones. Using a piping bag, fill each waffle cone with the banana pudding cheesecake filling. Swirl it to create a beautiful cone shape. For an added crunch, top each cone with some crushed vanilla wafer cookies.
Step 3: Serve. Optionally, you can garnish with extra whipped cream and more crushed wafer cookies on top for an appealing finish.
How to Serve Banana Pudding Cheesecake Cones
Serve the Banana Pudding Cheesecake Cones chilled. They make an excellent addition to any dessert table or as a sweet treat after dinner. You can pair them with a scoop of ice cream or some fresh fruit for an extra indulgence.
How to Store Banana Pudding Cheesecake Cones
To store the Banana Pudding Cheesecake Cones, keep them in an airtight container in the refrigerator. They are best enjoyed within a couple of days to maintain the cone’s crunchiness. If you’re making them in advance, you can fill the cones shortly before serving to keep them fresh.
Tips to Make Banana Pudding Cheesecake Cones
- Make sure the cream cheese is softened to room temperature for easy mixing.
- Use ripe bananas for maximum sweetness and flavor.
- To prevent the cones from getting soggy, fill them just before serving.
- Feel free to use homemade waffle cones if you prefer!
Variation
You can easily switch up the flavors by using different pudding mixes, such as chocolate or vanilla, and adding various toppings like nuts or berries.
FAQs
1. Can I make these cones ahead of time?
Yes, you can prepare the cheesecake filling in advance and store it in the fridge. Fill the cones just before serving for the best texture.
2. What can I use instead of waffle cones?
If you prefer, you can use sugar cones or even graham cracker crumbs as a base for your dessert.
3. Can I freeze the cheesecake filling?
Yes, the cheesecake filling can be frozen. Just make sure to thaw it in the fridge before using it to fill the cones.
Enjoy making your Banana Pudding Cheesecake Cones! They are sure to bring smiles and satisfy sweet cravings!